The concept of torque is the concept of force; the rotational force or amount of strength required to rotate an object. It is a twisting or turning force used to move objects including bolts and flywheels.
Torque is required to obtain a non-failing connection. For example, to have leak-free fluid transmission, proper gasket installation is required, and bolts must be screwed onto the flanges with the proper tension and balance over the entire flange face. Torque creates tension which secures two components so that they resist pulling or sliding apart.
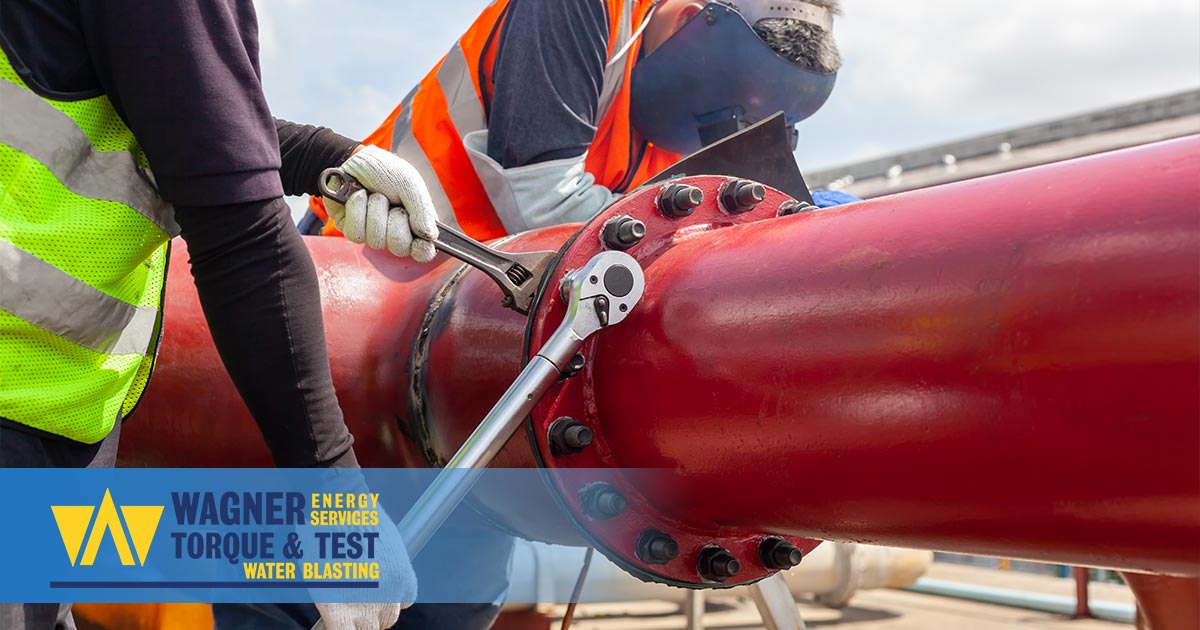
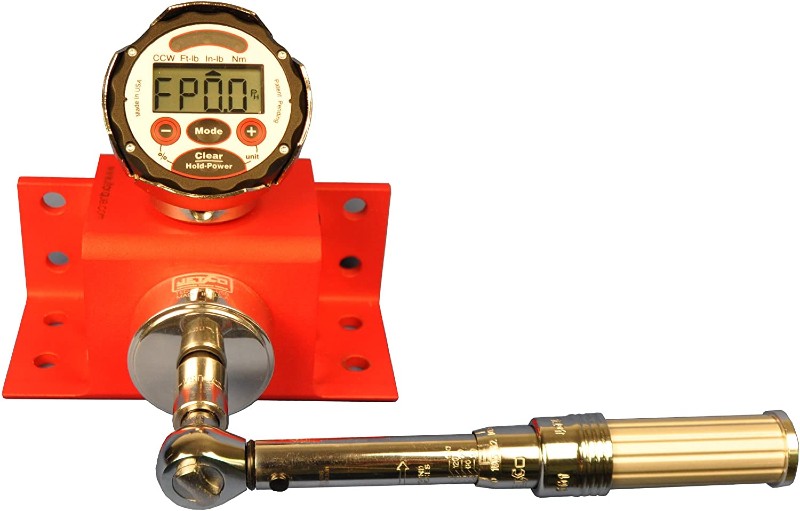
A torque wrench is a precision tool that is used to apply tension to screws, nuts, and bolts to fasten two parts together securely. These wrenches are commonly used for applications involving low-pressure gases and liquids, internal combustion engines, industrial piping, appliance assembly, air conditioning, and electrical equipment.
An effective installation process requires:
- Pre Checking to ensure that the flange conditions are receptive to secure nut tightening.
- Ensuring proper flange alignment.
- Checking nuts, studs, or bolts to ensure they are free from defects and burrs, and that they are the proper length.
- Checking gaskets to ensure they are the right size and type for the application and that they are clean and free of defects.
What’s the Right Way to Use a Torque Wrench?
Successfully tightening a bolt on a flange requires experience and the right tools for the work. These tools are used for various applications, small and large:
- Manual wrenches
- Impact wrenches
- Hydraulic torque wrenches
- Manual beam and gear-assisted wrenches
- Hydraulic bolt tensioneres
Torque wrenches are used to prevent common over-tightening, or under-tightening, either of which can result in serious and expensive fixes later on. These are key elements for proper use:
-
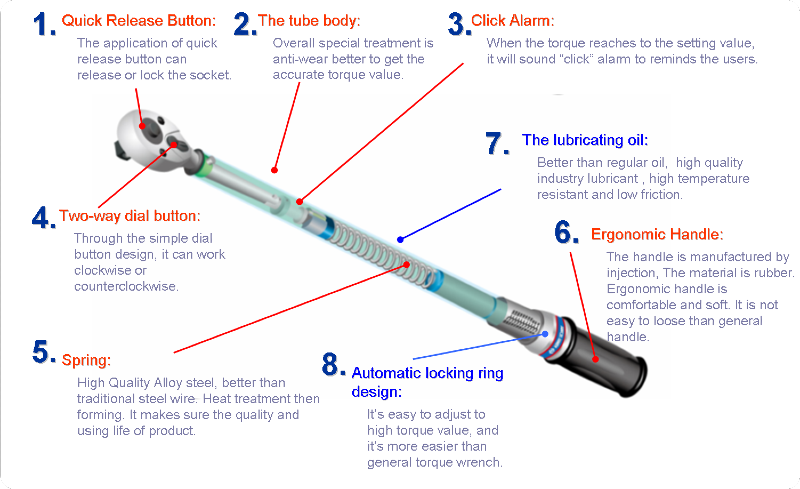
- Adjust the wrench to the exact manufacturer listed setting
- Loosen the tightener at the end of the wrench’s handle.
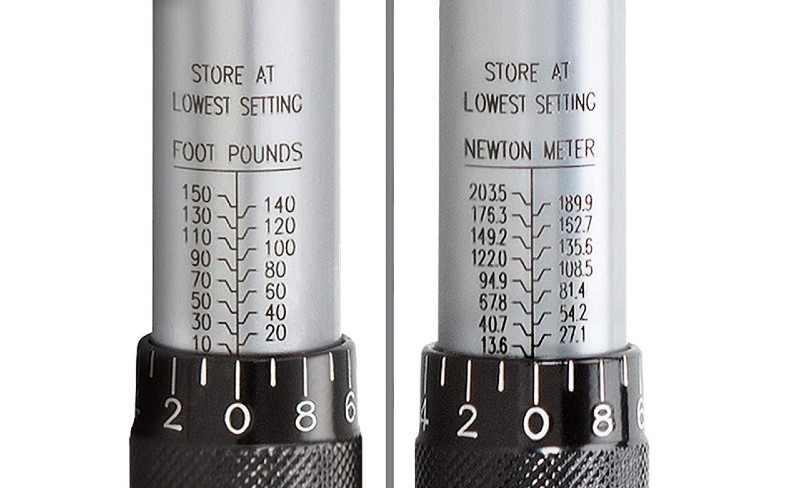
- Find and identify the measurements on the wrench
- Twist the dial to adjust the wrench to the proper setting.
- Lock the setting into the wrench.
- Clean dirty or rusted threads before tightening nuts.
- Lubricate the threads if called for by the equipment manufacturer.
- Adjust the wrench to the exact manufacturer listed setting
- Tighten each fastener in two steps. First to half torque and second to final torque.
- Put the socket on the head of the wrench.
- Turn the nut by hand until it catches the screw threading.
- Turn the handle clockwise to tighten the nut.
- Stop turning the wrench when it stops clicking or moving.
- Always dial the wrench back to zero when you are finished with it.
- Never use a wrench as a breaker bar.
- Handle the wrench carefully since a single drop can destroy its accuracy, requiring recalibration before reuse.
- Get the wrench recalibrated once a year if it is used frequently. A good instrument deserves good care to preserve its life, and more importantly, to perform accurately.
Lubricant is used to reduce any friction or wear between two surfaces in contact. It enables assemblers to achieve the ideal force for the application along with low bolt scatter, which means the differences among levels on different bolts holding the same flange together. It also makes disassembly easier.
Proper bolt lubrication means having:
- Adequately lubricated fasteners, with lube being on every thread and a bead of lube “squishing” out the bottom of the nut.
- Consistent frictional properties.
- No “galling”—the wear caused by friction between two surfaces.
- Physical and chemical stability.
See this chart that describes the lubricant for the different classes of flanges.
What is the Correct Tightening Sequence?
In most cases, bolts are tightened sequentially, since tightening one bolt in a group affects the preload on the other bolts in the group.
There is a crisscross tightening sequence for circular bolt patterns and a spiral tightening sequence starting in the middle for non-circular bolt patterns.
In the first pass, tighten the bolt half-way, then crisscross to the second bolt doing the same thing. After all bolts are “half-tightened,” repeat the cycle to finish the tightening.
Get Help with Your Rigs and Operations
Professional experience using the right tools and correct procedures are critical to establishing secure connections.
Wagner Energy Services LLC are your hydraulic bolting professionals. We offer oil and gas hydrostatic testing, bolt torquing, flange management, water blasting, and many other beneficial services to keep your field operations running smoothly. We take pride in providing top-notch services and unparalleled customer satisfaction!